This week I am guest posting on Cousin Corporation's blog about what my Jewelry Making Passion is. I thought I would also share the project here! Check out my project and then be sure to hop over to the Cousin Corp blog to see what all of the other ambassador's are passionate about!
Hello! Rebecca from My Girlish Whims here to talk about my jewelry making passion! I've been making jewelry ever since I was a kid and so jewelry making in general is truly a passion of mine. It's what I do to have fun and relax in my spare time. I enjoy using a variety of technqiues in my jewelry making but a current favorite is using an anvil and chasing hammer to hammer and texture wire. This is a really easy technique that can easily make your jewelry pieces look very professional!
Hello! Rebecca from My Girlish Whims here to talk about my jewelry making passion! I've been making jewelry ever since I was a kid and so jewelry making in general is truly a passion of mine. It's what I do to have fun and relax in my spare time. I enjoy using a variety of technqiues in my jewelry making but a current favorite is using an anvil and chasing hammer to hammer and texture wire. This is a really easy technique that can easily make your jewelry pieces look very professional!
I've used this technique in the past to share the following two projects on my blog:


To show you how to use this technique today I'm going to share a tutorial on how to make these cute earrings:
To follow along and make your own pair of earrings you will need:
Supplies:
16 gauge aluminum wire, cousin glass round beads, head pins, jump rings, earring wires, chasing hammer, anvil, metal hole punch pliers, round nose pliers, wire cutters and needle nose pliers
Steps:
Using wire cutters, cut two pieces of wire about 2 inches in length
Place the wire on an anvil. Hold one end with your finger and use the large end of a chasing hammer to hammer the other end flat
Use the hammer to texture the entire wire piece like so:
You can see the difference that hammering makes in the wire piece; the chasing hammer makes the wire piece flat and hard and easy to use in jewelry pieces!
Repeat this process for the other piece of wire and then use your metal hole punch pliers to punch a hole in the bottom of each wire piece.
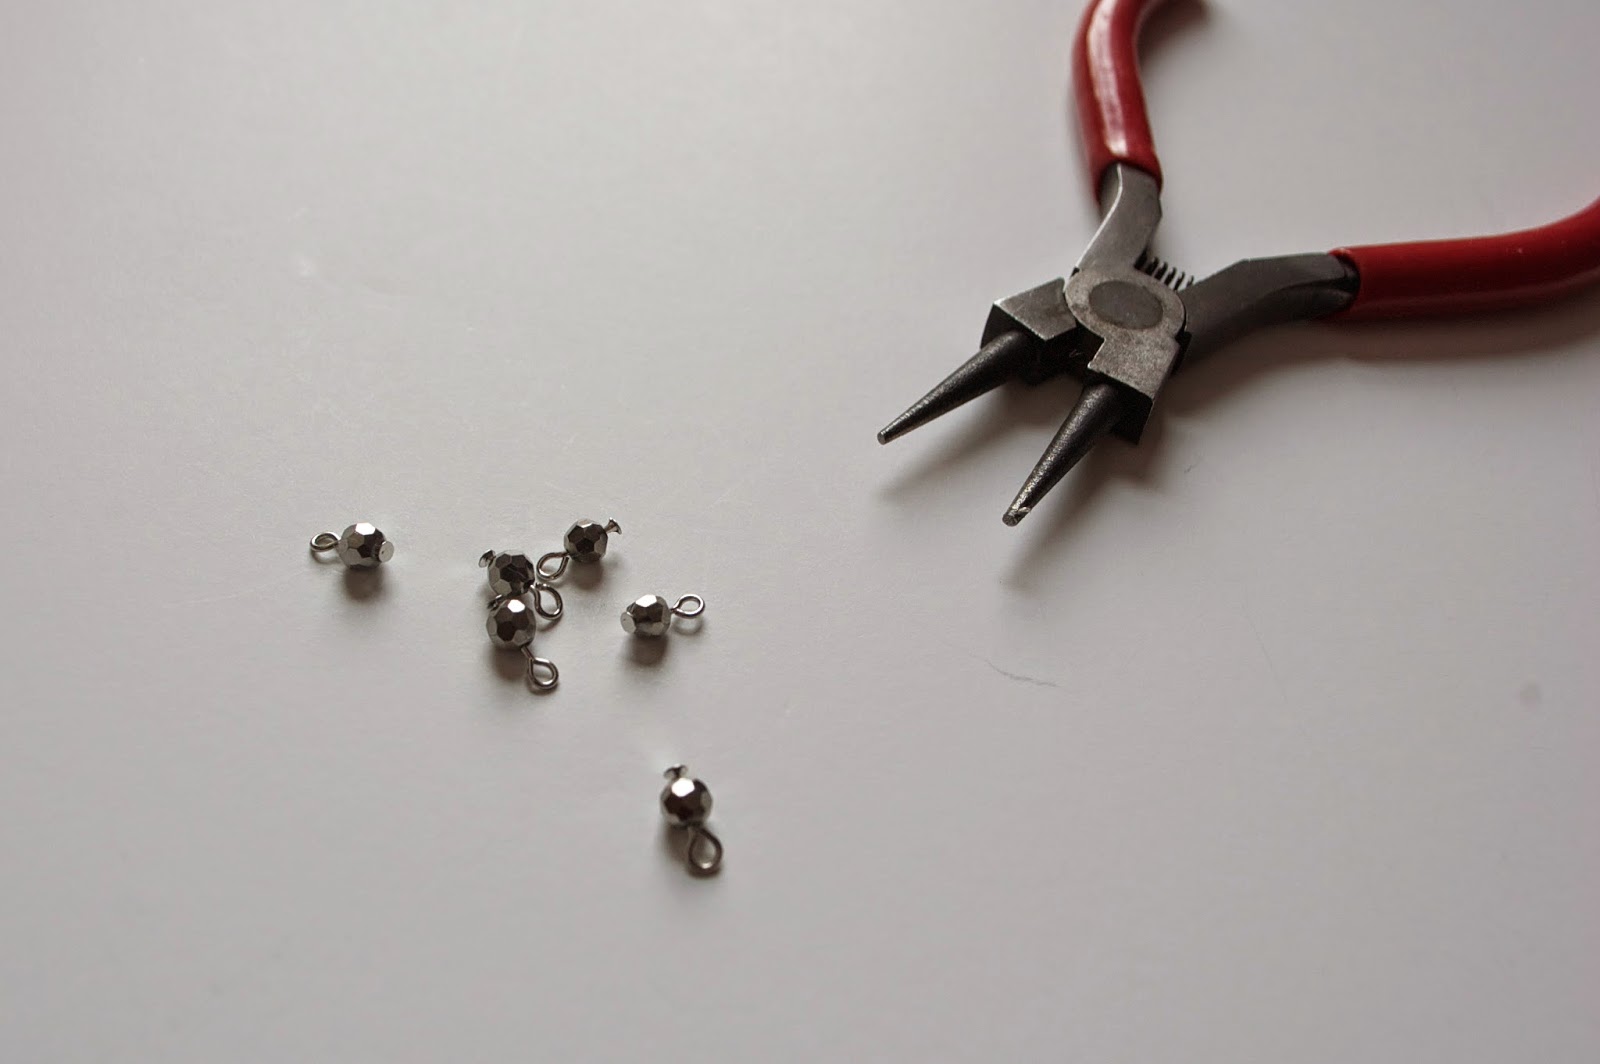
Next up is to prepare the beaded dangles for the earrings. String a bunch of round beads onto head pins.
Use needle nose pliers to bend the head pin 90 degrees directly above the bead
Use wire cutters to trim off all but about a half inch tail on the head pin
Use round nose pliers to bend the wire tail back into a loop
Use needle nose pliers to open a jump ring and string it into the hole in the metal wire piece
String on your beaded dangles - I used 14 dangles per each earring but amount will vary depending on how large your beads are!
Close the jump rings using pliers again
At this point your earring is almost done so take a moment to figure out how long you want the earring to be. I wanted mine a little shorter so I trimmed the metal wire piece up with wire cutters.
Use your metal hole punch pliers to again punch two holes in the other end of your metal wire pieces
And use these two holes to attach silver ear wires into
And then that's it; you're done!
These earrings are pretty simple and basic to make but using the technique of hammering the wire pieces gives them an extra punch of elegance and makes them just a little more interesting!


Hello beautiful! What a fun party! Thank you for hosting. Please stop by our party. We would love to share one of your amazing creations. We pin and tweet everything! Lou Lou Girls
ReplyDeleteThanks for sharing this post.I used to be more than happy to seek out this web-site.See more ..
ReplyDeleteShop our curated collection of Natural Hair earrings and accessories. Show pride in what grows from your crown.
afrocentric jewelry
I appreciate your ideas, the jewelry you make is very beautiful. I love the necklace.
ReplyDeleteduck life