Anthropologie Knock-Off Earring Tutorial

I'm back with another Anthro Earring Knock-off! The last tutorial I did from Anthro was my most popular tutorial ever on my blog!

I found these Marshmellow Puff Earring on Pinterest from Anthropologie - for wayyy too much money.  I whipped my set up in under an hour and they don't require very many supplies - or much money to make them! Also, if you are not a jewelry-making gal, these are also available in my etsy shop!

Anthropologie Knock-Off Earrings


Here's how to make your own!

Supplies:
-Gold wire in around 16 gauge and 24 gauge
-Earring Hooks
-4mm Czech Glass Beads
-Wire Cutters
-Needle Nose Pliers
-Round Nose Pliers 

Steps:
Cut about 5 1/2 inches of the of the 16 gauge wire

Bend the wire into a tear drop shape (does not have to be perfect yet, you can form it more as you go) and using needle nose pliers bend both of the ends of the wire 90 degrees

Using round nose pliers, bend the ends into loops.  Keep one straight up, and one bend sideways.


Connect the sideways loop around the neck of the straight loop.

Squeeze the sideways loop shut with needle nose pliers.

Put the earring form on an anvil and pound it with a chasing hammer to harden the wire so it will keep its shape. 

Cut around 12 inches of the 24 gauge wire

Wrap the end of the wire around the middle of the side of the earring form around 8 times

String your beads onto the wire - I did about 8 inches of beads.

Start wrapping the beaded wire around the earring form (you may want to tape the end of the wire so the beads don't fall off)

Wrap the wire until you reach the other middle side of the earring form.

Wrap the wire tail around the wire form again around 8 times.

 Trim off the excess with wire cutters

Almost done!

Open up the top loop on the earring, and attach an earring wire.  Squeeze the loop shut with needle nose pliers.


Make a matching earring, and your done!


So pretty! You could also make these in silver, and with other color beads on the bottom. I also have made some in a circle form instead of a teardrop form (which are for sale in my etsy shop)

So what do you think...will you try it out?

Your Whims Wednesday #62 {And Features}

Time for another Your Whims Wednesday party!


Your Whims Wednesday


Here are some of my favorite link-ups from the past week:

Window Display by Rustic Living

Fabric Garland by City Girl Gone Coastal

Feta Dip by Couponing & Cooking

 No-Sew Extender Slip by Modern Modest Beauty

Raspberry Butter cream Frosting by Our Mini Family


 Thanks to all who linked up! Grab a button if you were featured :)

Featured on My Girlish Whims

Now... onto this weeks party!

I show off my girlish whims weekly on my blog, and now I want to see yours with 
Your Whims Wednesday!

Guidlines:
1. Link up as many projects as you would like: as long as it is one of your girly ways, you can link it! I'd love to see crafts, recipes, style posts, etc. Anything and everything feminine :)
2.Please add my button (code at the top of this post) to either your blog post or somewhere on your blog. 
3. Take a quick moment to comment on at least one other entry. We we all love comments!! 
4.I'd love if you would follow me as well :)


This post sponsored by:

Appliances Online - Hotpoint Fridges

Bead Organization Fabric Covered Magnet Board

I'm slowly working on turning my craft room into an organized and girly space! Today I want to share my newest project for the room: 

 Bead Organizer Fabric Covered Magnet Board


I'm so pleased with how this project turned out! I'm a very visual person when it comes to crafting.  I get inspired to create by looking at and playing around with my craft supplies.  I wanted some way to organize some of the good beads I had so I could easily see them and use them to craft with.  

The main part of this project was the magnetic board. I got it at IKEA for only $12.99, it's called the SPONTAN Magnet Board
The other supplies needed were about a half yard of fabric (I used Turn of Events in Plum from Hawthorne Threads), scissors, Mod Podge, and a brush.  Not pictured is a hot glue gun, magnets, and bead holders.

I cut the fabric to slightly larger than my magnet board and then just applied Mod Podge over the fabric to adhere it to the board.  I did two total coats, and let it dry for a day before putting on the second coat. 

After the top was dry, I trimmed away some of the fabric from the sides and then just wrapped it around and hot glued it to the back of the board.  Yeah yeah, not the prettiest looking but it's in the back so it doesn't really matter anyway :)

After the the board was all ready, I called on the lovely hubby who begrudgingly hung it up for me above the second tier on my craft desk (he's been hanging lots of things recently for me since we just moved haha) 

Very pretty! :)

After the board was done I set to work getting my beads ready to go on.  I got a bunch of little metal containers from Pick Your Plum on a deal they had (I found some similar ones on Amazon:)
 

and I ordered magnets from Amazon - affiliate link below.  These magnet were great, the perfect size for the back of the containers but were strong enough to hold a container full of beads.


I hot glued the magnets to the back of the containers

And then filled them all up with pretty beads! And tried to line them all up pretty for a picture and then just got wayyy to frustrated with all the magnetic forces going around :)

The last step was just to plop the beads onto the board!


Close up of all the pretty beads :)


I love it! The board is right above my main work space in my craft room, so whenever I look up I can be inspired!

Are you a jewelry maker? How to you store your beads?
homemade crafts

Sponsor Love: Royal Daughter Designs

I am so happy to introduce you guys to my newest sponsor: Amanda from Royal Daughter Designs!


 Amanda is married to a minister/seminary professor, and works from home as a web designer and graphic designer. In her own words, she's a "Country girl through and through from Texas!"

Amanda blogs with her blog design company over at Royal Daughter Designs.

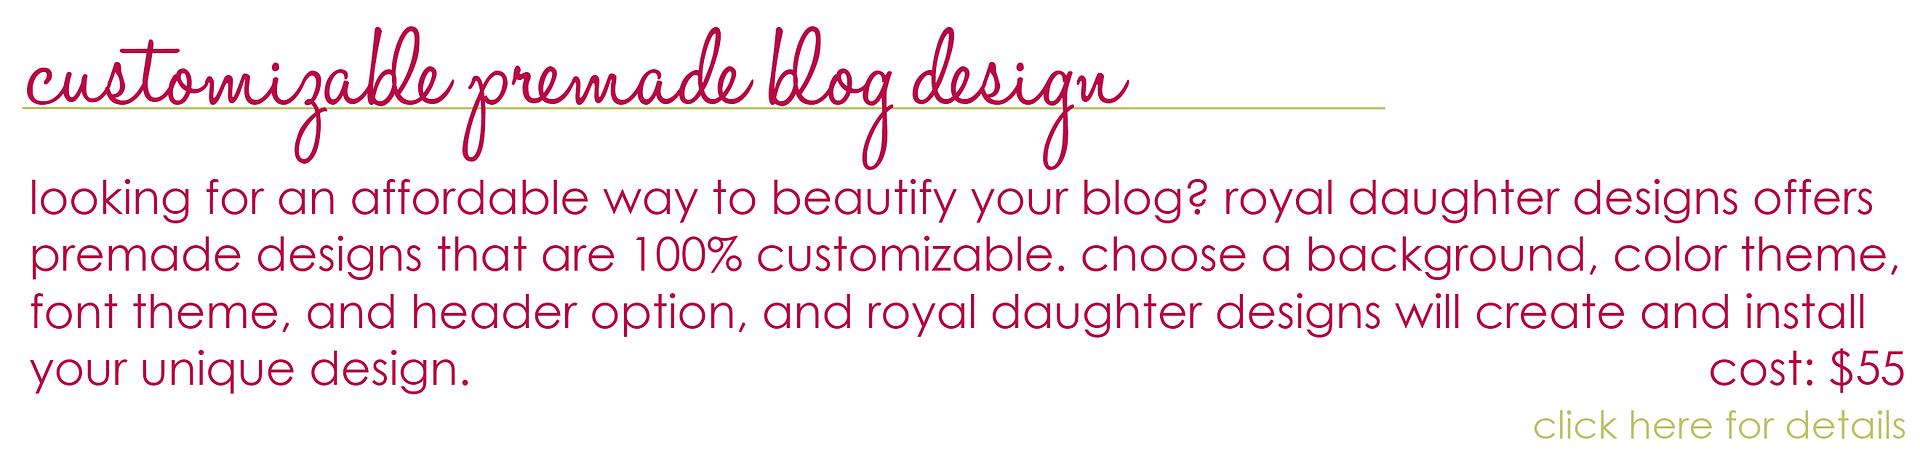
One of the really cool services Amanda offers through Royal Daughter Designs is customizable premade blog designs for only $55! 

Photobucket 
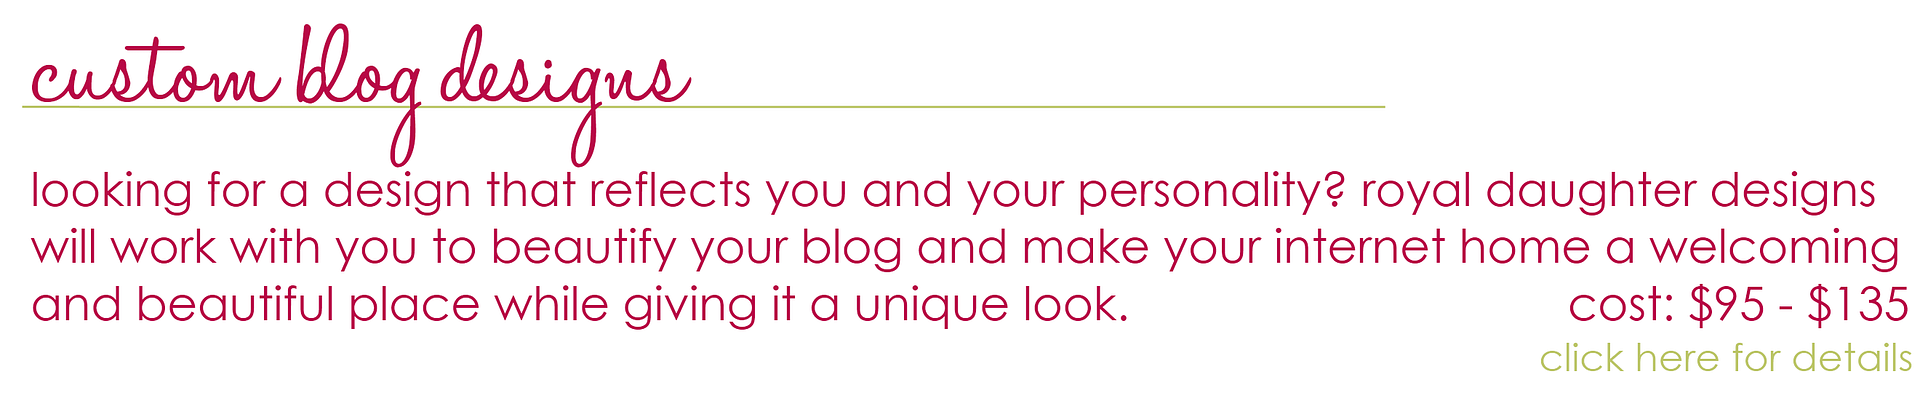
Of course, if you want something that is uniquely you, she also does full custom designs as well:
Photobucket
Here's a sneak peak at some of her designs:

So many cute designs! I love her design style. 

Amanda also blogs about Country Living

And something really useful: Tutes on Tuesdays - really helpful blogging tutorials!!!


I'd love for you to stop by Royal Daughter Designs and say hello...and if you are considering a blog face-lift, it would be a great place to go!!!