Your Whims Wednesday #175 {And Features}

Time for another Your Whims Wednesday Party!

Your Whims Wednesday

Here are some of my favorites from last week:

Nutella Buttercream Frosting by Confectionalism
DIY Seashell Jewelry by Titi Crafty
DIY Seashells Jewelry Set Tutorial
 
Library Cart to Boot Rack by The Wanabe Cowgirl
Picture
 
Add Sleeves to a Dress by Life is Beautiful
 
Stag Head Wall Art by Edea Smith
 
Thanks to all who linked up! Grab a button if you were featured :)
 
Featured on My Girlish Whims
 
Now... onto this weeks party!

I show off my girlish whims weekly on my blog, and now I want to see yours with 
Your Whims Wednesday!

Guidlines:
1. Link up as many projects as you would like: as long as it is one of your girly ways, you can link it! I'd love to see crafts, recipes, style posts, etc. Anything and everything feminine :)
2.Please add my button (code at the top of this post) to either your blog post or somewhere on your blog. 
3. Take a quick moment to comment on at least one other entry. We we all love comments!! 
4.I'd love if you would follow me as well :)


246

I am very happy today!!!!!

It might just have a littleeeee something to do with this!

I'm finally under 200 pounds!! AHHHH!!
 
Now, let me preface this by saying that I know this is still not an ideal weight for my body but it is SUCH a big step for me.  The title of this post is 246, and if you couldn't guess, that's what weight I started at in January. It was the heaviest I've ever been in my life! I've been a little intimadated to share my actual weight on my blog here because that's a HUGE number! I've told a couple people now that's what I started at and most of them have said they couldn't see that at all.  That I didn't look like 246 pounds.  But honestly? I felt it. I kept seeing my body change in ways that were not pleasant. Stretch marks on your belly when you are 23 and not even pregnant? No thank you. It really was time for a change.

Now that I'm getting close to hitting the 50 FREAKING POUNDS mark and 20 FREAKING PERCENT of my body weight though, I'm confident enough to throw this up on the internet for the world to see.  Gulp.  At least I think so...


As of Thursday morning as I write this, I am down a total of 47 pounds which is a 19.1% change from where I started.  I normally space my weight loss updates out about a month but I was so freaking happy about FINALLY getting under 200 pounds I had to come share a little early :)
 
I don't have any super great before & afters (maybe I'll work on that for next time!!) but here's a nice gym bathroom selfie comparison.  I'm nice and sweaty on the right (I'd call that some MAJOR boob sweat) but you can totally tell how much smaller my waist has gotten! There is totally not as much belly bulge either :)


My favorite thing to compare is still my face though.  I've really noticed the change there.  I like to take selfies so much more now!!! #sorrynotsorry

I kind of sort of actually genuinely enjoy exercising now. GASP. My Monday night Zumba class is one of the highlights of my week!!! Exercise is such a consistent part of my schedule right now so it's just natural that I have to fit in some sort of activity everyday.
 
I don't even hate running TOO much anymore.  It's still hard work but I can feel myself getting better at it which is such a motivation to me. Plus it helps that I am starting to accumulate a ton of really cute workout clothes (like this top from Fabletics, freaking OBSESSED with that website right now.  More on them later!!!). I would much rather throw on a cute coordinating exercise outift (I am just a little obsessed with matching...) than a baggy tshirt to run in any day. 
 
I'm also still being pretty dedicated about cooking healthy dinners during the weeks. I have COMPLETELY learned how healthy food can still taste delicious, you just have to put a little effort into finding a recipe that uses fresh ingredients and seasonings for flavor instead of relying on gobs of cheese or cream. We went to the beach with my parents two weekends ago and I offered to cook something for dinner on Saturday so I could make something that was good AND healthy. We made grilled shrimp tacos and seasoned the shrimp with old bay seasoning and a little butter.  Served it on wraps with some brown rice, lettuce and my favorite homeade sauce to make: an avacado crema.
 
As a side note, we were at the beach so we were able to get fresh shrimp instead of the frozen kind I normally get at the grocery store at home.  I had to get a lesson in peeling shrimp, because apparently they have legs?? Hah! I'm used to buying them frozen and ready to cook ;)
 
I also cooked fish tacos this week with talapia. I followed the recipe for everything but the seasoning on the fish because I'm a whimp and don't like spicy foods.  I'll admit I was a littttle hesitant about the cabbage slaw (was just tossed with vineagar and a little sugar & salt) but it played off of the lime crema really nice.  So many yummy flavors in my mouth!
 
So now that the whole world knows how much I weigh, I better keep kicking my butt to keep on progressing!  When I originally started trying to loose weight in January I set my original goal weight as 190 (mainly because it had a little bit of wiggle room to keep from getting back over 200!).  I really didn't want to set a goal weight for less than that because honestly I didn't think I could do it.  I had to PROVE to myself I could come this far.  Now? 9 pounds to go to 190 seems like nothing! Definetly not planning on stopping anytime soon!!!


DIY Gold Crystal Drop Necklace

It's been a while but I finally have a pretty new jewelry tutorial to share with you all!

This stunning necklace requires just a couple different materials and basic wire wrapping skills. But don't worry! I have lots of pictures to show you how to tackle it!

But first, to give credit where credit is due, this necklace is COMPLETELY inspired by my blog pal Sarah over at Everyday Bijoux! She posted this necklace picture and I just LOVED it so I hoarded it away and made a mental note to recreate it one day. I used a slightly differnt assortment of beads because I used what I had on hand, but the basic concept is all Sarah's.  Be sure to check out her blog for more great jewelry ideas!

If you want to make your own version, here's the tutorial!

Materials
Chain, 6mm jump rings, lopster claw clasp, 24 gauge wire and an assortment of clear drop beads.  I used these beads from Prima bead and some other beads I had on hand.  These would be another good option!

Instructions
First step is to cut a length of chain the length you would like your finished necklace to be.  Cut a second piece of chain short enough to fit within the bib of the necklace

Use jump rings to attach the second strand to the neckalce base like so.  Side note: You may find it easier to attach the beaded charms onto the chain WITHOUT the two strands connected.  I figured that out after this picture :) Regardless this is how the base of the necklace will end of being constructed.

Cut about 4-5 inches of 24 gauge wire using wire cutters

String on a crystal drop bead

Position the bead to the left of the wire and cross the wire over like so:

Grasp the wire with needle nose pliers and pull the longest tail up straight and wrap the smaller tail around it a few times.

Trim off the excess small tail using wire cutters

Feed the long tail through a chain link at the base of the necklace


Wrap the wire back around the link forming it into a loop

Finish off the dangle by wrapping the wire around the tip of the drop bead.

Trim off any excess wire with wire cutters


Repeat this process for two other sized crystal drop beads and then repeat the first type of bead.  I spaced my beads out every other link due to the size of my chain. 

After wrapping those four beads I figured it would be much easier to have less chain in the way while I was wrapping and separated the two chain pieces. Here's the completed short link:

Repeat this process for the center of the necklace base.

Reattach the short strand a couple links up from where your beads stop on the long strand using a jump ring


The completed bib section of the necklace should lay like so:

Lastly, attach a lopster claw clasp to one end of the chain end using a jump ring and a single jump ring on the other end using needle nose pliers.

Here is your completed necklace!

I love the contrast of the clear/gray tinted crystals with the bright gold chain and wire.  It's a nice neutral necklace that still pops!

It's a great accessory to jazz up a neutral shirt as well.

Not too hard, right? Comment and let me know if you think you'll give it a try!

Your Whims Wednesday #174 {And Features}

Time for another Your Whims Wednesday Party!

Your Whims Wednesday

Here are some of my favorites from last week:

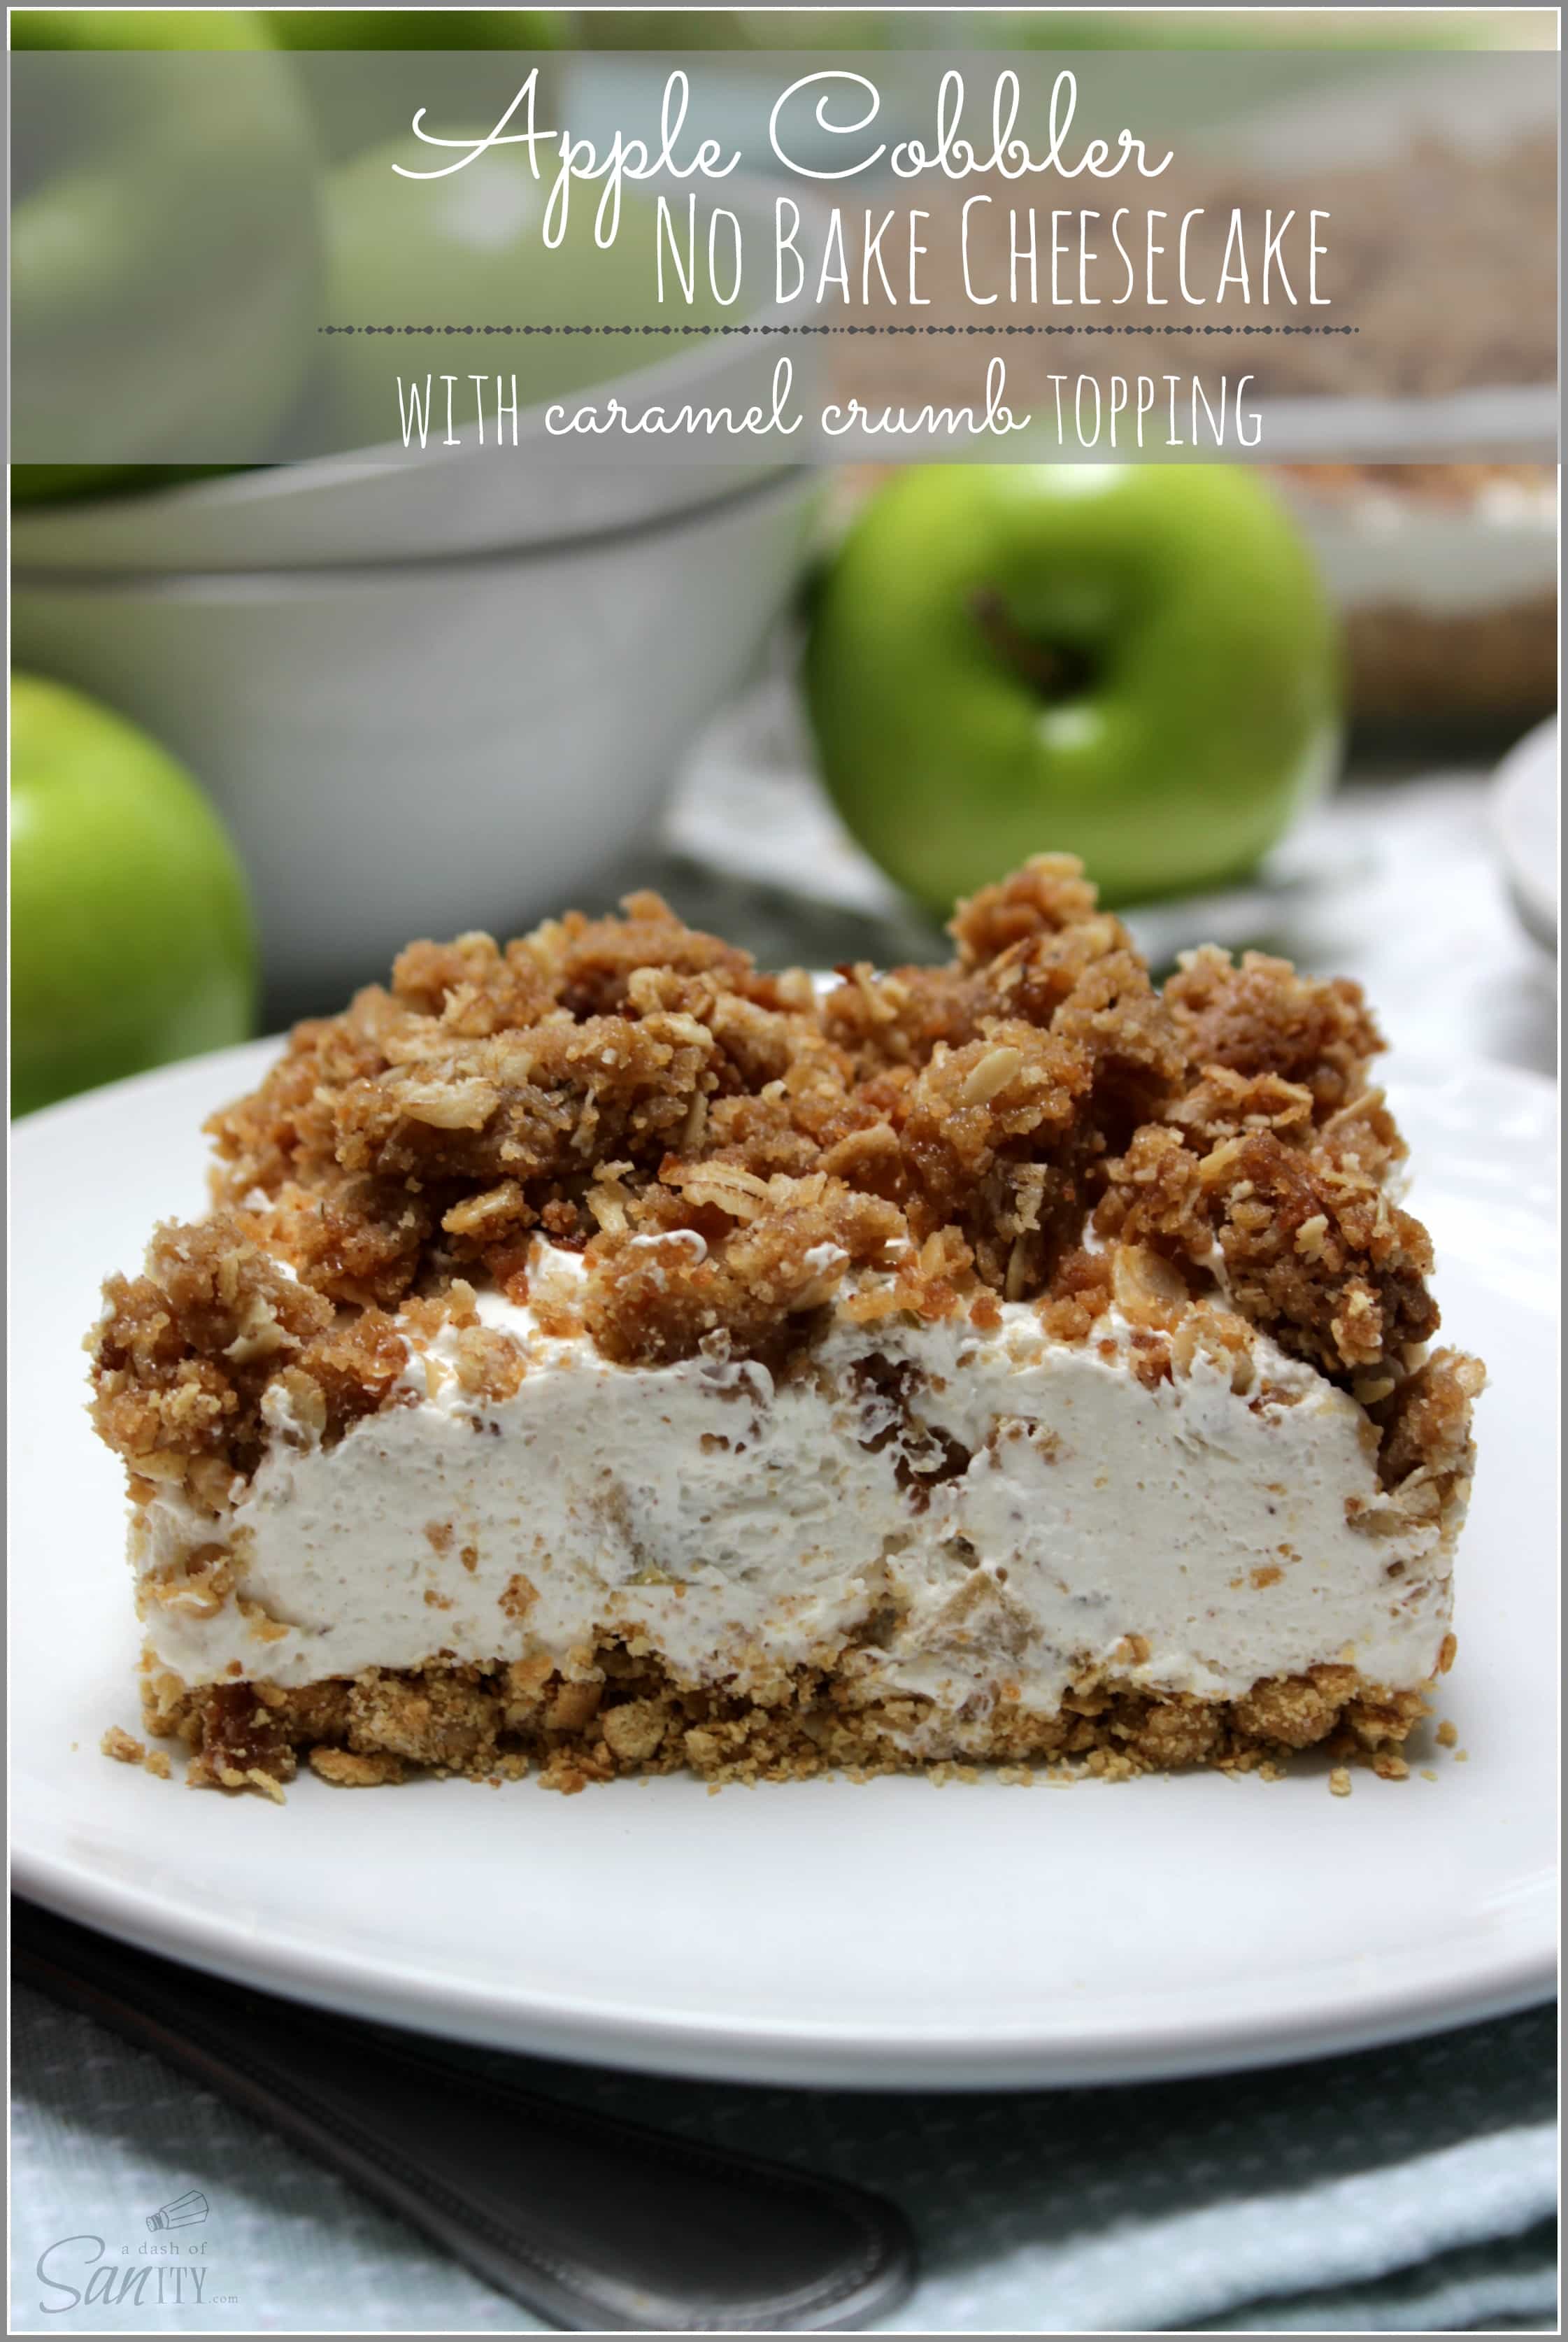
Apple Cobbler No Bake Cheesecake by A Dash of Sanity
Apple Cobbler No Bake Cheesecake | with caramel crumb topping

Ocean Bracelet by Undeniable Glitter


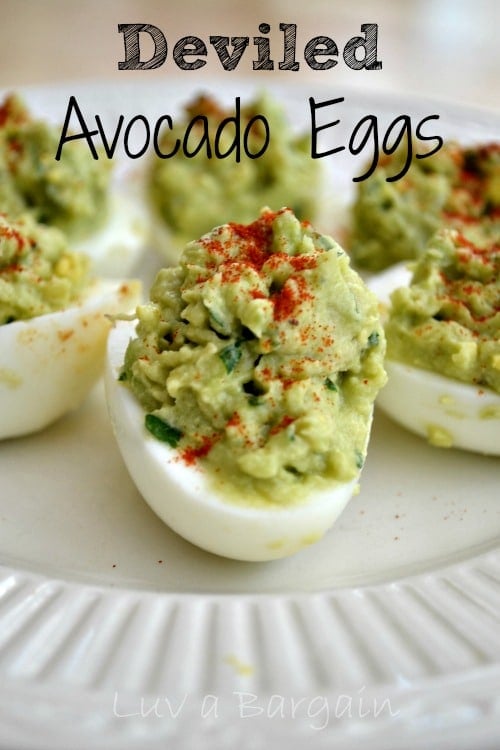
Deviled Avacado Eggs by Luv a Bargain
Deviled Avocado Eggs
Cinderella Quote Printable by Miss Mandee
 
Nautical Party by Tikkido
 
Thanks to all who linked up! Grab a button if you were featured :)
 
Featured on My Girlish Whims
 
Now... onto this weeks party!

I show off my girlish whims weekly on my blog, and now I want to see yours with 
Your Whims Wednesday!

Guidlines:
1. Link up as many projects as you would like: as long as it is one of your girly ways, you can link it! I'd love to see crafts, recipes, style posts, etc. Anything and everything feminine :)
2.Please add my button (code at the top of this post) to either your blog post or somewhere on your blog. 
3. Take a quick moment to comment on at least one other entry. We we all love comments!! 
4.I'd love if you would follow me as well :)