14 Months Weight Loss Update

This month's weight loss post is a little late - whoops! But thought I would pop in with a quick update for anyone who has been following along! Since my last update I am down another 6 pounds for total weight loss of 88 pounds.  That means only 12 pounds to goal weight and 100 pounds down.  Wow!!! 12 pounds sure sounds super easy to do now!!!


I am so completely happy with my new body and lifestyle.  This picture is from when hubby and I went out for our wedding anniversary last month.  We went out for a big night on the town and so I really wanted a nice outfit to wear. I went shopping that morning and didn't have a lot of time but I popped into the BCBG outlet store and plucked a dress off the rack, tried it on and it fit perfectly. Then I went to a shoe store and bought a new pair of black boots and didn't have to worry about them zipping up past my calves. What is this??? Shopping is so easy and fun now!!! 


I'm going to keep these jeans forever.  These used to be so tight on me.  Oh my goodness.

It's really fun to compare photos of me wearing the same/similar outfits from before when I was heavy and now.  That pink dress on the left was a size XL from Old Navy, and the one on the right is a similar dress from Old Navy in a size small.  I can't believe I can fit in smalls!!!


Nothing really new to report on what I'm doing to loose the weight, still counting calories with My Fitness Pal and rocking my workouts every day. Throwing in an occasional gym bathroom selfie to keep it classy and track my progress (20 pounds down on the left in each pic above and below vs. 85ish on the right)


This past month I did try a new exercise class for my first time though - I went to a Barre and TRX class at another small gym near me and I really liked it! They just added Friday morning classes at 5:45AM that I've been going to before work.  I was so proud of myself for trying this: it would have been WAY out of my comfort zone to just show up for this kind of class before I started getting healthy.  The moves are INTENSE, like after my first class my legs were sore for like legit 4 days after. I may not be the strongest or the skinniest or the anythingest in the class but I show up and get my workout in and do my best and that's all that matters!! I also finally started showing up in these fancy barre socks so I wasn't the only person in the class in white haines socks ;)


I feel like every month at some point I go through a little plateau, I hit that for awhile this month and got frustrated.  Summer is right round the corner people!!! I've made tons of progress but I'm still not really confident enough to show up at the beach rocking a bikini. I tried to really rededicate myself in the middle of this month to get ready for beach weather.  I realllly really really want to wear a bikini for my first time ever this summer.  I've got work to do before summer starts but I am well on my way!!!


I reallllly can't wait for all the snow to melt around here so I can go back to running outside.  It had melted last week but then we got like 5 inches of snow on the first day of spring whomp whomp. Hopefully it will melt quick and I can start trying to run longer distances, I worked up to 7 miles this past fall and I've lost more weight and have training since then so I'm hoping to be able to do a little better when I can start practicing again!

Your Whims Wednesday #204 {And Features}

Time for another Your Whims Wednesday Party!

Your Whims Wednesday
 
Sorry for the lack of content lately.  I've been having some computer issues but everything is back on track now and I should get some new posts up soon!!! In the mean time, here are some of my favorites from last week's party:

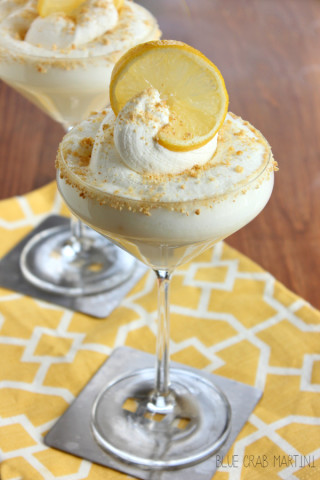
Lemon Meringue Martini by Just us Four
Lemon Meringue Martini- sinfully sweet with a pop of lemony tartness! #limoncello #lemon #martini | Blue Crab Martini
 
Barnwood Jewelry Holder by Hawthorne & Main
 
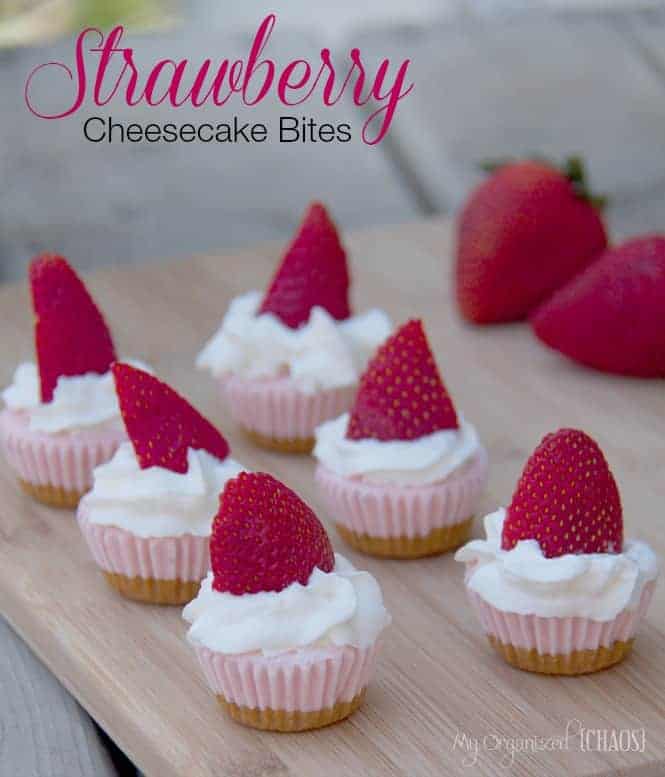
Mini Strawberry Cheesecake Bites by My Organized Chaos
strawberry-cheesecake-bites
 
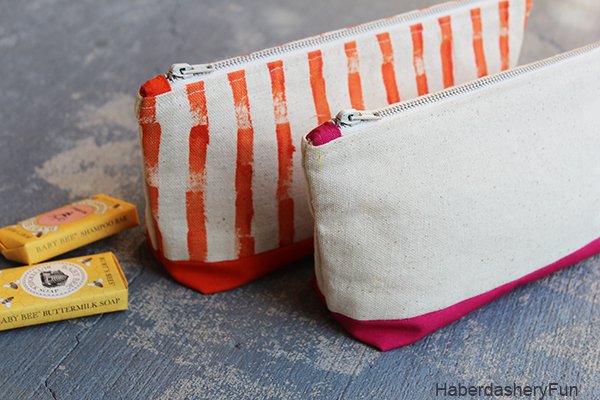
DIY Colorful Pouches by Haberdashery Fun
Main Canvas Corp
 
Peanut Butter and Jelly Blondies by Living Better Today
These Peanut Butter and Jelly Blondies are an easy dessert the whole family will love!
 
Thanks to all who linked up! Grab a button if you were featured :)
 
Featured on My Girlish Whims
 
Now... onto this weeks party!

I show off my girlish whims weekly on my blog, and now I want to see yours with 
Your Whims Wednesday!

Guidlines:
1. Link up as many projects as you would like: as long as it is one of your girly ways, you can link it! I'd love to see crafts, recipes, style posts, etc. Anything and everything feminine :)
2.Please add my button (code at the top of this post) to either your blog post or somewhere on your blog. 
3. Take a quick moment to comment on at least one other entry. We we all love comments!! 
4.I'd love if you would follow me as well :)


Your Whims Wednesday #203 {And Features}

Time for another Your Whims Wednesday Party!

Your Whims Wednesday
 
Here are some of my favorites from last week's party:

Keylime Cheesecake with Pretzel Crust by The Gold Lining Girl


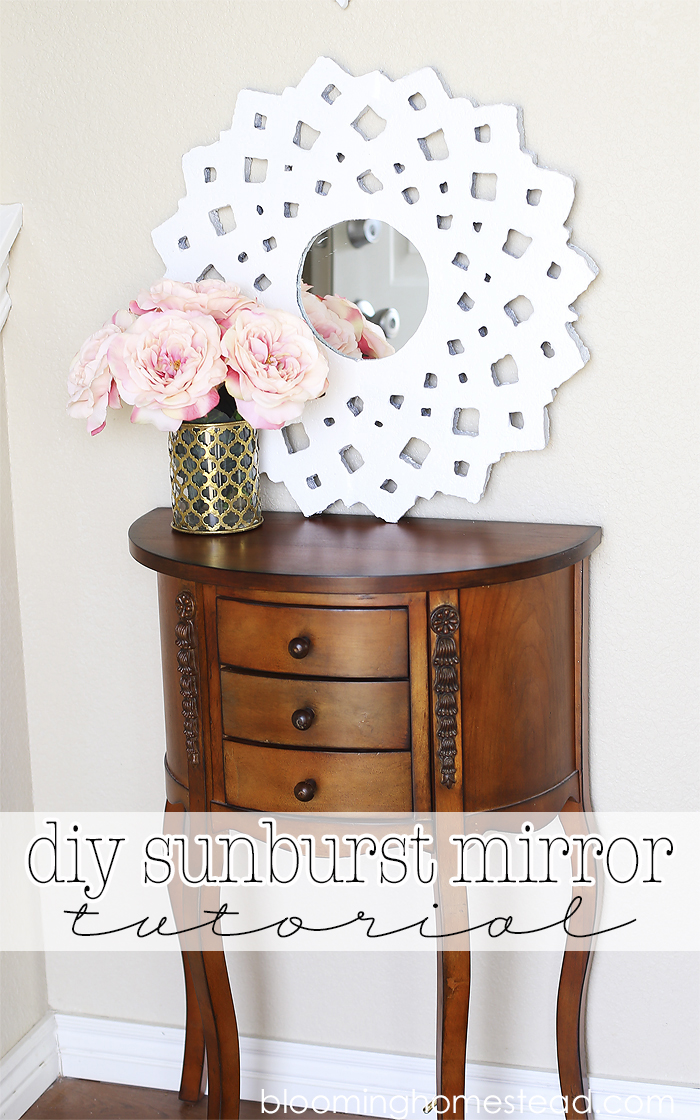
DIY Sunburst Mirror by Blooming Homestead
Affordable diy sunburst mirror with easy to follow tutorial.
 
Homemade Mint White Hot Chocolate by The Gracious Wife
Homemade Mint White Chocolate is a fast and easy hot chocolate recipe made with white chocolate and mint! From TheGraciousWife.com
 
Coral Pleated Skirt Outfit by Style Assisted
IMG_2668
 
Thanks to all who linked up! Grab a button if you were featured :)
 
Featured on My Girlish Whims
 
Now... onto this weeks party!

I show off my girlish whims weekly on my blog, and now I want to see yours with 
Your Whims Wednesday!

Guidlines:
1. Link up as many projects as you would like: as long as it is one of your girly ways, you can link it! I'd love to see crafts, recipes, style posts, etc. Anything and everything feminine :)
2.Please add my button (code at the top of this post) to either your blog post or somewhere on your blog. 
3. Take a quick moment to comment on at least one other entry. We we all love comments!! 
4.I'd love if you would follow me as well :)


Your Whims Wednesday #202 {And Features}

Time for another Your Whims Wednesday Party!

Your Whims Wednesday

I completely spaced on getting last week's party posted.  Whoops! Sorry guys! I've picked out a few extra features from the party two weeks ago to make up for it.  Here were some of my faves:

Black Forest Crepes by The Gold Lining Girl
black forest crepes 7 pin

Berries and Cream Meringue Nests by Spoonful of Flavor
Berries and Cream Meringue Nests | Crisp meringue nests filled with luscious vanilla bean cream and topped with sweet berries!

DIY Beaded Tassel Necklaces by Made in a Day
DIY Tassel Necklaces madeinaday.com
 
Dainty Bracelets DIY By Happy Girl Crafty
 
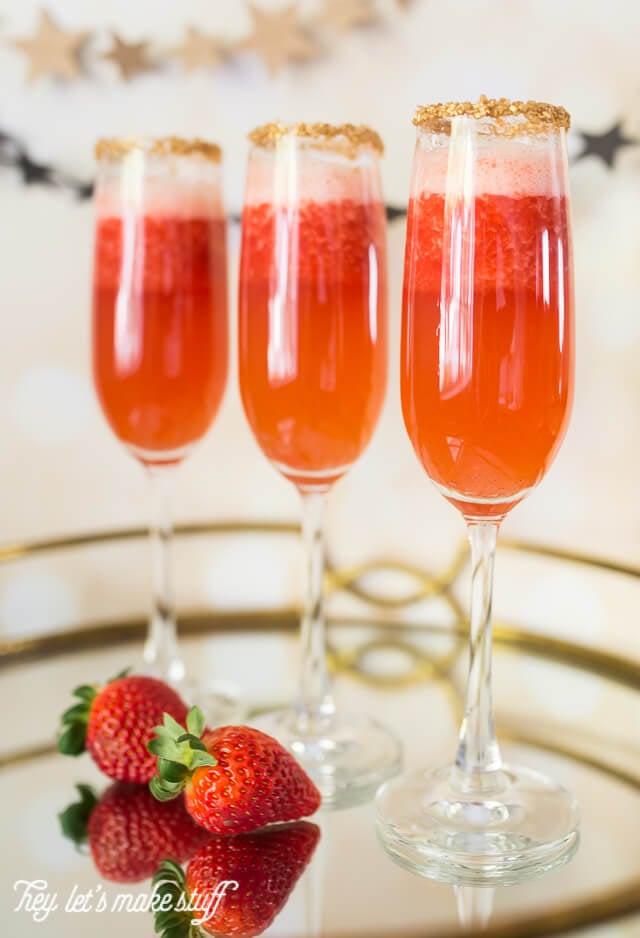
Red Carpet Strawberry Champagne by Hey, Let's Make Stuff
Throw a Girl's Night at the Oscars! The perfect time to break out the champagne and chocolate with your best girlfriends. Post includes recipes, products, and games that are perfect for the Academy Awards!
Sangria Tasting Party by Lipgloss and Crayons
 
Thanks to all who linked up! Grab a button if you were featured :)
 
Featured on My Girlish Whims
 
Now... onto this weeks party!

I show off my girlish whims weekly on my blog, and now I want to see yours with 
Your Whims Wednesday!

Guidlines:
1. Link up as many projects as you would like: as long as it is one of your girly ways, you can link it! I'd love to see crafts, recipes, style posts, etc. Anything and everything feminine :)
2.Please add my button (code at the top of this post) to either your blog post or somewhere on your blog. 
3. Take a quick moment to comment on at least one other entry. We we all love comments!! 
4.I'd love if you would follow me as well :)


Easy Hammered Wire Earring Tutorial

This week I am guest posting on Cousin Corporation's blog about what my Jewelry Making Passion is.  I thought I would also share the project here! Check out my project and then be sure to hop over to the Cousin Corp blog to see what all of the other ambassador's are passionate about!

Hello! Rebecca from My Girlish Whims here to talk about my jewelry making passion! I've been making jewelry ever since I was a kid and so jewelry making in general is truly a passion of mine. It's what I do to have fun and relax in my spare time.  I enjoy using a variety of technqiues in my jewelry making but a current favorite is using an anvil and chasing hammer to hammer and texture wire. This is a really easy technique that can easily make your jewelry pieces look very professional!

I've used this technique in the past to share the following two projects on my blog:


To show you how to use this technique today I'm going to share a tutorial on how to make these cute earrings:

To follow along and make your own pair of earrings you will need: 

Supplies: 
16 gauge aluminum wire, cousin glass round beads, head pins, jump rings, earring wires, chasing hammer, anvil, metal hole punch pliers, round nose pliers, wire cutters and needle nose pliers


Steps:
Using wire cutters, cut two pieces of wire about 2 inches in length

Place the wire on an anvil.  Hold one end with your finger and use the large end of a chasing hammer to hammer the other end flat

Use the hammer to texture the entire wire piece like so:

You can see the difference that hammering makes in the wire piece; the chasing hammer makes the wire piece flat and hard and easy to use in jewelry pieces!


Repeat this process for the other piece of wire and then use your metal hole punch pliers to punch a hole in the bottom of each wire piece.

Next up is to prepare the beaded dangles for the earrings. String a bunch of round beads onto head pins.


Use needle nose pliers to bend the head pin 90 degrees directly above the bead

Use wire cutters to trim off all but about a half inch tail on the head pin

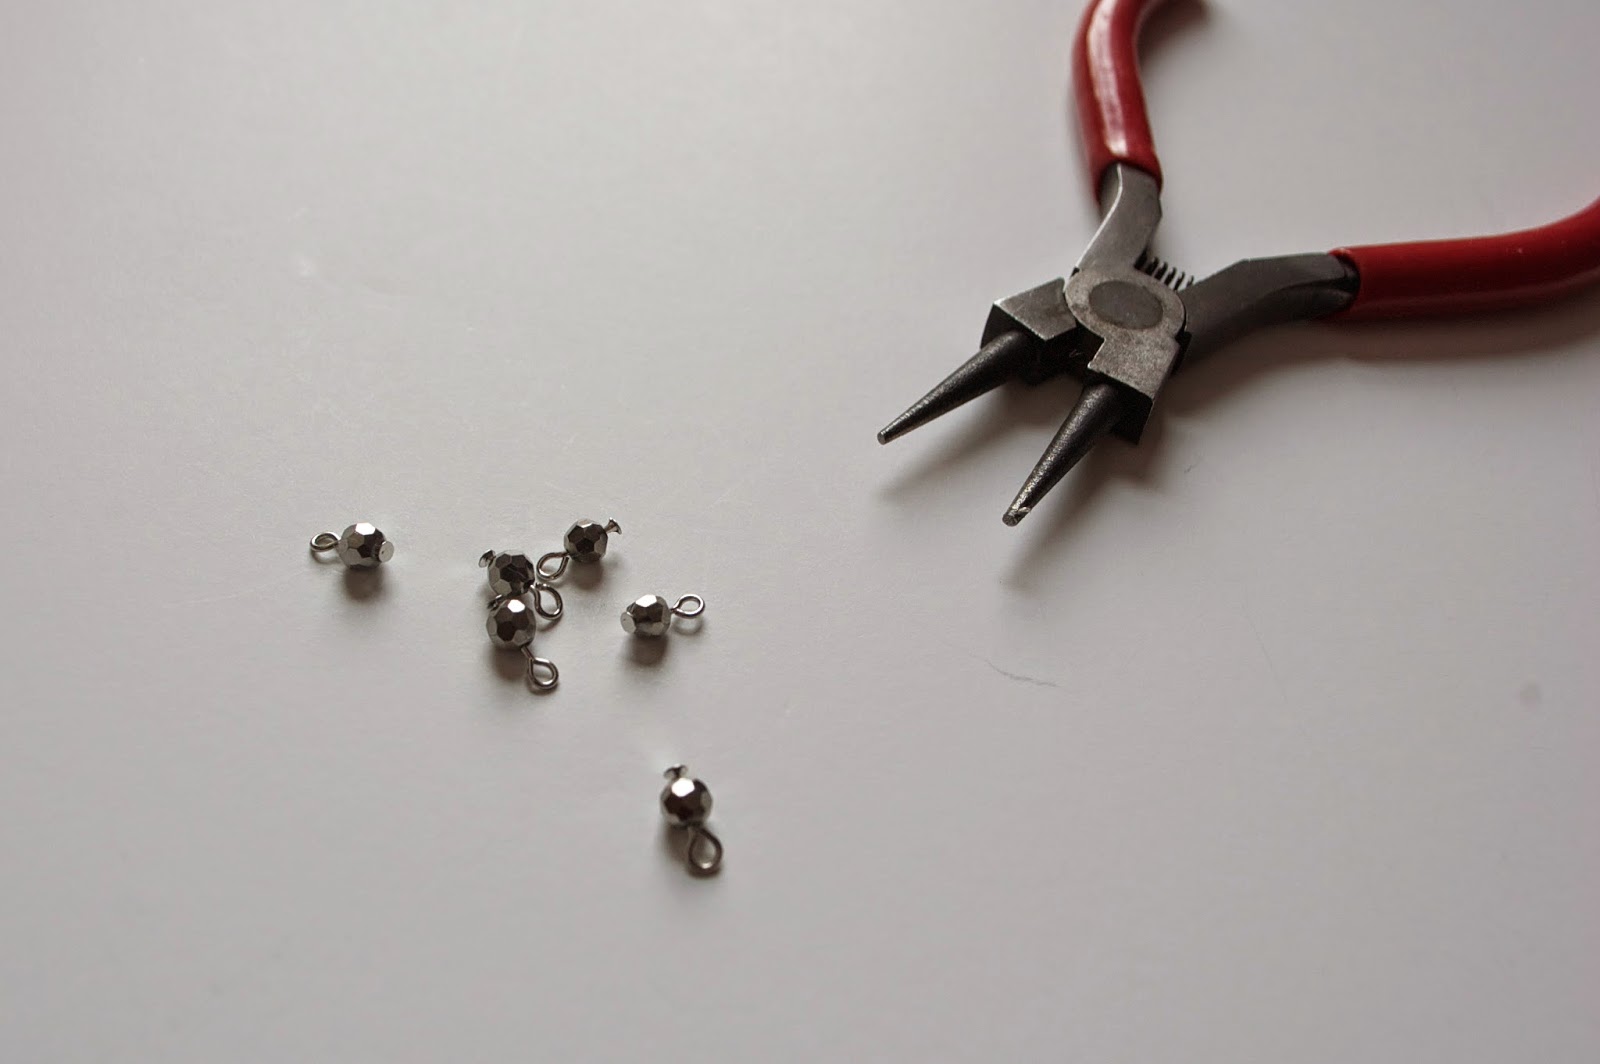
Use round nose pliers to bend the wire tail back into a loop

Use needle nose pliers to open a jump ring and string it into the hole in the metal wire piece

String on your beaded dangles - I used 14 dangles per each earring but amount will vary depending on how large your beads are!

Close the jump rings using pliers again

At this point your earring is almost done so take a moment to figure out how long you want the earring to be. I wanted mine a little shorter so I trimmed the metal wire piece up with wire cutters.

Use your metal hole punch pliers to again punch two holes in the other end of your metal wire pieces

And use these two holes to attach silver ear wires into

And then that's it; you're done!

These earrings are pretty simple and basic to make but using the technique of hammering the wire pieces gives them an extra punch of elegance and makes them just a little more interesting!

If you liked this tutorial, be sure to follow along on my blog to catch other tutorials like it I post each week! You can also find me on facebook, twitter, pinterest and instagram.  Happy beading everyone!