DIY Beaded Dangle Necklace

One of the best things about being able to make your own jewelry is being able to easily make a necklace to go with a specific outfit. That's exactly where this next necklace came from!


I wanted a cute, coral/peach necklace to go with a new polka-dotted top I bought from Target.  This beaded dangle necklace was the perfect fit!

This is really where being a bead hoarder comes in handy...a nice large selection of bead colors to pick from. I had the perfect selection of peach beads lefts over from this necklace to make a different bib style necklace to go with my new shirt!
 PS: Like my make-up?? Stay tuned for more info and a giveaway later this week!!!

Here's how to make your own DIY necklace!

 Supplies:
Needed to make this necklace: two different types of peach stone beads, pink crystal rondelles, round stone beads, head pins, eye pins, crimp beads, beading wire, chain.

Steps:
First step is to make the main dangles of the necklace.  String your larger stone beads onto head pins

Bend the head pin 90 degrees above the bead with needle nose pliers. Cut off all but about a half inch tail with wire cutters.  Curl the tail into a loop using round nose pliers. 

Attach an eye pin onto the head pin using pliers.  Add on a crystal bead, then form another loop and add on a longer eye pin.

String on your smaller stone bead and then form another loop on the other end of the eye pin

Next, cut a length of beading wire sufficient for a necklace length.  String on one of the beaded dangles.

String on three round stone beads on either side, then another dangle. Continue until all dangles are strung. 

Fill up the rest of the beading wire with round beads and attach a clasp using a crimp bead.

Tada!

I just love how this one turned out.  I tend to always lean towards incorporating chain somewhere in a necklace, and so I was happy to switch things up and use only beads in this necklace.

Cheese! Here's to pretty necklaces and pink polka dots :)

I'm linking up with these parties:
Thursdays: Catch a Glimpse

Your Whims Wednesday #138 {And Features}

Time for another Your Whims Wednesday Party!

Your Whims Wednesday

 Here are some of my favorites from last week:

Chain Reaction Necklace by the Jewelry Making Journal
Chain Reaction Necklace - tutorial by Rena Klingenberg

Love is the Key Sign by Avocado Grove


Crochet Boots by Crochet Dreamz


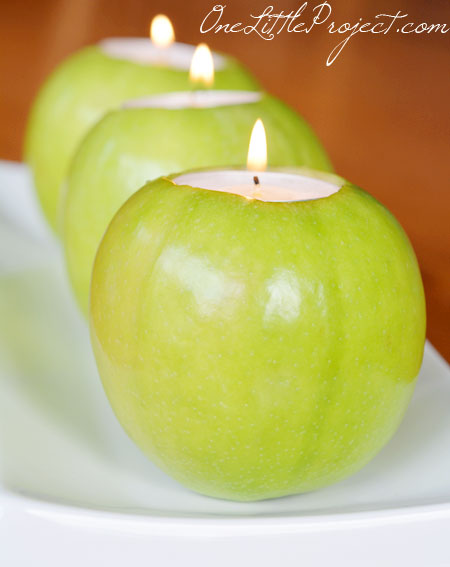
Fresh Apple Candles by One Little Project
Here's an easy tutorial with loads of pictures for how to make apple tea lights.These are such a gorgeous idea to decorate an autumn table!

Peacock Earrings by Honesty's Protegee
Peacock Earrings

Thanks to all who linked up! Grab a button if you were featured :)
 
Featured on My Girlish Whims
 
Now... onto this weeks party!

I show off my girlish whims weekly on my blog, and now I want to see yours with 
Your Whims Wednesday!

Guidlines:
1. Link up as many projects as you would like: as long as it is one of your girly ways, you can link it! I'd love to see crafts, recipes, style posts, etc. Anything and everything feminine :)
2.Please add my button (code at the top of this post) to either your blog post or somewhere on your blog. 
3. Take a quick moment to comment on at least one other entry. We we all love comments!! 
4.I'd love if you would follow me as well :)

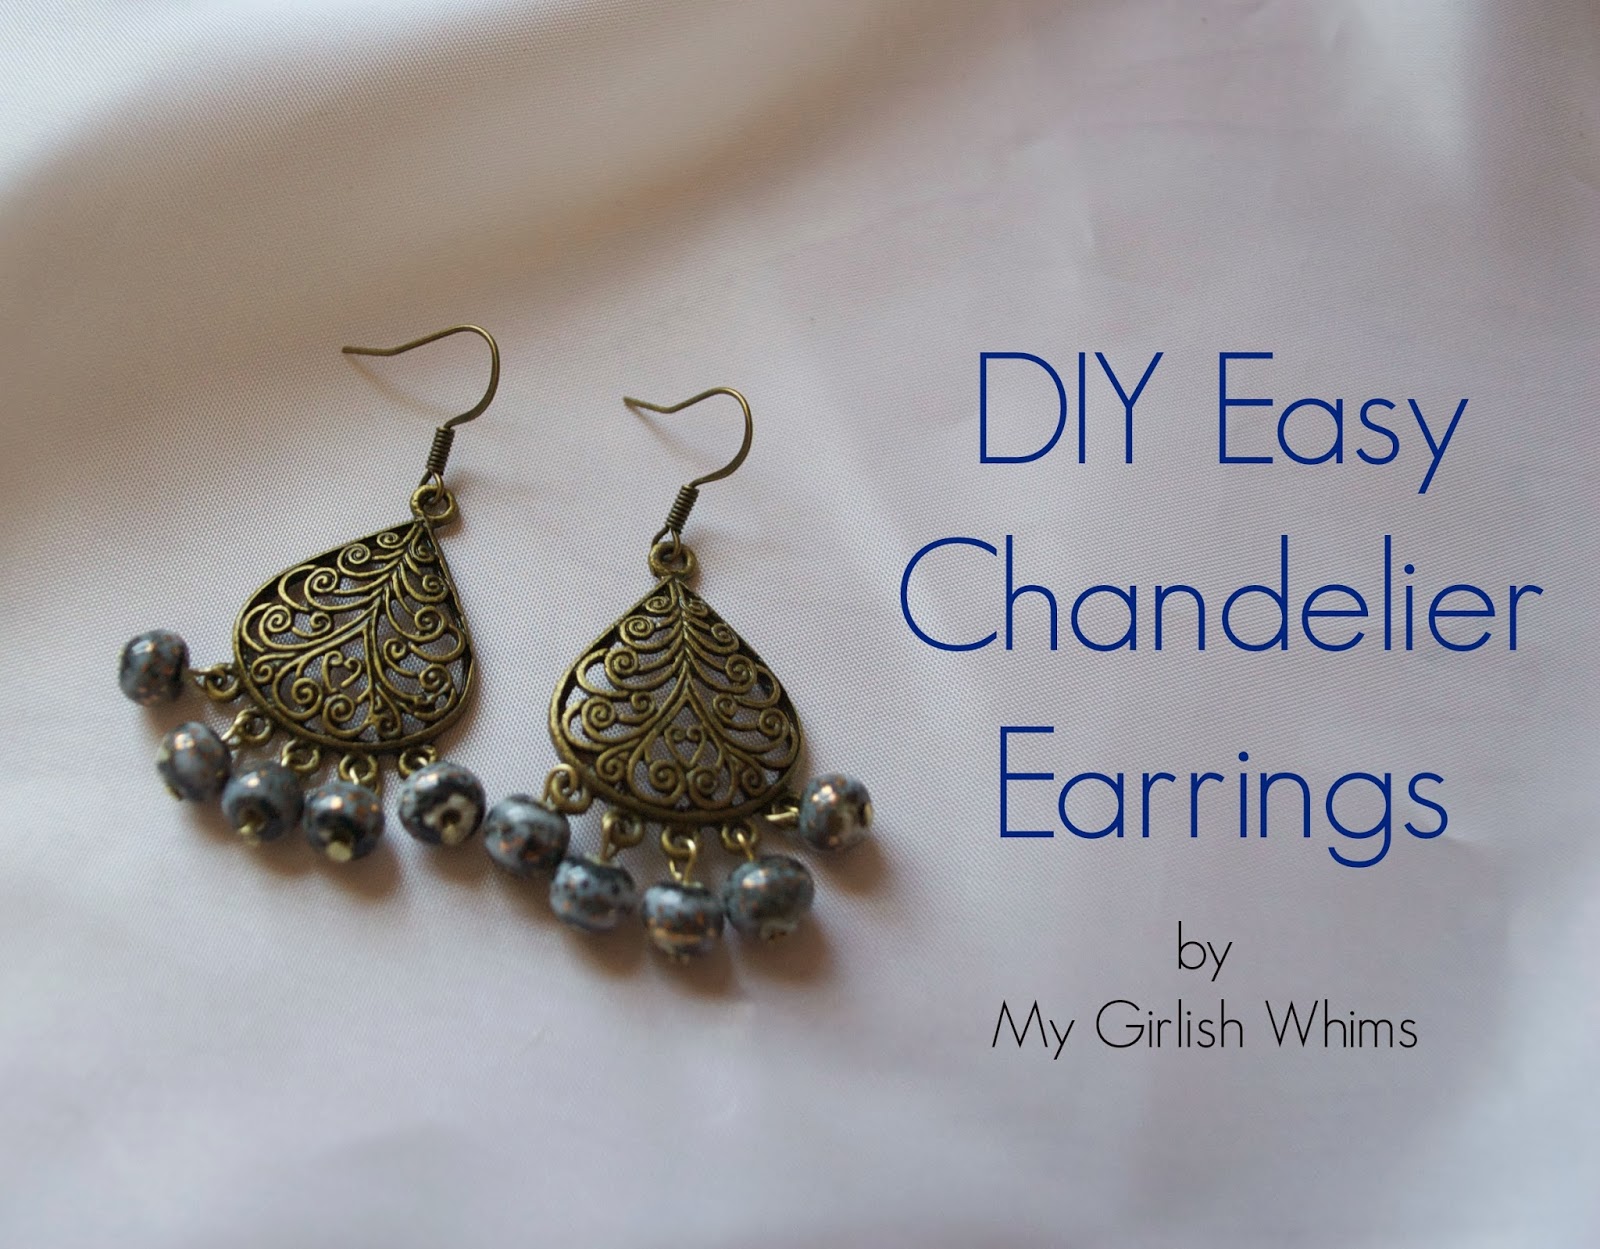
DIY Easy Chandelier Earrings

I remember when BIG chandelier earrings were so popular.  I had a lot. I made a lot! Then one day I heard they were "out" and my big-earring loving ego was crushed.  I rebelled for a little while, but gradually I've grown out of the HUGE chandelier earring phase.  That doesn't mean I stay away from all chandelier earrings though! These earrings are the perfect size - big enough to stand out, but small enough to be classy.


One other plus? They are super easy to DIY! Here's how to make your own pair.

Supplies:

Chandelier Earring Bases from Wholeport,  head pins, earring hooks, beads, needle nose pliers, round nose pliers, and wire cutters. 

Steps:

String 10 beads onto head pins

Using needle nose pliers, bend the head pins 90 degrees directly above the bead

Snip the excess wire using wire cutters, leaving a tail of about 1/2 an inch long

Grab the tail by the end of the wire with round nose pliers and bend it into a loop

Attach the beaded loops onto the chandelier base

Squeeze the loops closed with needle nose pliers

Attach the earring hooks to the top using pliers as well

That's all there is to it!

After you get the hang of making these beaded loops, earrings like this come together super fast and easy. The best part is most of the design work is done for you by the earring base! All you have to do is pick out some pretty beads to attach on - so easy. 

And I can still wear them without being too out of style.  I mean, who just decides big chandelier earrings can be out??? I guess the same people who decided that shoulder pads, fanny packs and scunchies were a thing of the past....so adjust I must...but these earrings make it so much easier to adjust with!

I'm linking up with these parties:
Thursdays: Catch a Glimpse

Your Whims Wednesday #137 {And Features}

Time for another Your Whims Wednesday Party!

Your Whims Wednesday

 Here are some of my favorites from last week:

Painted Fall Leaves by Grow Creative
Painted Fall Leaves

Gold Gilded Acorn Specimen Art by Just a Little Creativity


Wine Cork Earrings by Make it Easy Crafts


Rake Head Wreath by Hill House Homestead


Thanks to all who linked up! Grab a button if you were featured :)
 
Featured on My Girlish Whims
 
Now... onto this weeks party!

I show off my girlish whims weekly on my blog, and now I want to see yours with 
Your Whims Wednesday!

Guidlines:
1. Link up as many projects as you would like: as long as it is one of your girly ways, you can link it! I'd love to see crafts, recipes, style posts, etc. Anything and everything feminine :)
2.Please add my button (code at the top of this post) to either your blog post or somewhere on your blog. 
3. Take a quick moment to comment on at least one other entry. We we all love comments!! 
4.I'd love if you would follow me as well :)

GIVEAWAY with Easy Canvas Prints

I stink at getting pictures developed.

And when I say I stink, I mean I realllly stink. I think I have three photos printed from our wedding? Maybe four. But that's it! I don't even have a photo album or anything. Scrapbooking is one craft I just never got into so I really don't do anything with pictures!!

So when I was contaced to review a canvas print from Easy Canvas Prints I responded with a hearty "yes" to help my home look a littttle more personalized, and in case, ya know, we have a moment like Revolution (any one else watching this show???) where all the lights go off and my computer dies with all my pictures on it and the world goes crazy AT LEAST I will still have one photo left to remember how good hubby and I looked before everything hits the fan.
 
Or, ya know, to just make my home look a little more personalized. We can go with that option as it it a little more realistic.


Ordering online from Easy Canvas Prints really was EASY! You can upload pictures right from your computer or connect directly into your facebook or instagram account to upload photos straight from there! I picked a photo from a recent friend's wedding we went to that we took with a nice camera so it would print with a high quality. The website does have a quality gauge to help show you if it will print well or not.  My print turned out great!

Would you look at that good looking couple...
 

I styled our 8x10 canvas right on my bookshelves in my family room.  One day if I make some sort of gallery wall I would love to hang it on the wall - but for right now we look pretty cozy on the shelves :)

If you are like me and need to make your home just a little more personzlied, Easy Canvas Prints is your perfect resource. And for more personalized resources, check out Build a Sign and Allied Shirts.

BUT WAIT! I've got good news!

I have another FREE 8x10 canvas print to giveaway to one of my lucky readers! To enter, use the widget below.  Giveaway is open to all readers, but the free shipping for the canvas will only be honored for the continenal US.  Good luck!

a Rafflecopter giveaway