DIY Emerald Charm Statement Necklace

Lately I really haven't had a lot of plans for the weekends. It's been rainy and cold and just kind of crappy weather around here lately so I don't really feel like going out and doing anything. So, without much to do and nowhere to go I've been binge exercising, watching the good wife, and throwing a little jewelry making into the mix haha.  But seriously, I'm still very much trying to get fit so without much else going on I've been running 8 miles on the treadmill (perfect length to watch 2 episodes of the good wife) then showering up and watching some more episodes while crafting. I'm so addicted to this show right now. Alicia Florrick, drama, romance, law and it's funny too! Anyway. During one such binge watching episode I was able to create this gorgeous DIY Emerald Charm Statement Necklace!


I used these acrylic beads from Prima Bead as the base for the necklace.With beads that pretty it makes designing the rest of the necklace really easy!I love this acrylic bead style, they are just the perfect base for statement necklaces! So that's what I whipped up and I figured I would share how to make it!

The first step was to add a small jump ring onto each of the acrylic drop beads using needle nose pliers.

Twist the jump ring open, slide the bead on, and then twist back closed with pliers. 

Next, connect the other beaded charms together into a strand using small jump rings as well.


Next cut a strand of beading wire using wire cutters.

String on a pattern of 5 gold beads, beaded charm, 5 more gold beads.  Depending on the size of your gold spacer beads you may need more or less in between the acrylic drop beads.  The main purpose of the gold beads is to space the acrylic drop beads out enough so they can lay property when you wear the necklace!

Bring together your beaded strand and connected bead strand

Attach one small jump ring to the end of the beaded charm strand

String a crimp bead onto the end of the beading wire and then thread the wire through the jump ring you just added and back through the crimp bead.

Squeeze the crimp shut using needle nose pliers and trim off any excess wire tail using wire cutters.  Repeat this process for the other side of the necklace so you are left with a connected bib.

Cut two lengths of chain to attach to the bib

Connect each side of the chain to the necklace bib using jump rings and then add a clasp to the other end of the chain using more jump rings.

After everything has been hooked up you are left with a completed necklace!

I'm so addicted to statement necklaces, I hope they don't go out of style any time soon because I just love combining chunky chains and big beads!

I have absolutely NO green or even emerald clothes (just not my color) but that won't keep me from wearing this necklace, I just love the style!

Now I just have to wait until next weekend to have another binge watching session of the good wife and make something else!!

Top Posts of 2014

Happy New Year!!! Well, almost New Year :) I'm just barely squeaking this post in of my top posts of 2014.  It's alright though, it's still 2014 until the clock strikes midnight! Until the fat lady sings! Until I fall asleep at 11PM because midnight is sounding verrrrry late to me right now...hah! I always have fun looking back at which posts have been the most popular on my blog for the past year. Surprise surprise...for the second year in a row all of these posts are jewelry related.  I guess I know what kind of projects you guys like!! Two jewelry round-ups were also very popular this year so I added them into the mix as well.  Without further ado....


There you have it! My top posts for the year.  I hope you have enjoyed reading over the past year and will stick around for another one! I've slowed down blogging a bit, I can't promise a new project to post every monday every week but I still do like blogging and I'm not going anywhere.  I've just got a relaxed attidue toward it.  I'll craft when I craft and blog about it after the sun comes up again to take nice pictures haha :) My top posts of years past are listed below as well if you are interested. I wish you the very happiest of happy new years!!
 

Your Whims Wednesday #195 {And Features}

Time for another Your Whims Wednesday Party!

Your Whims Wednesday

Here were some of my favorites from last week!

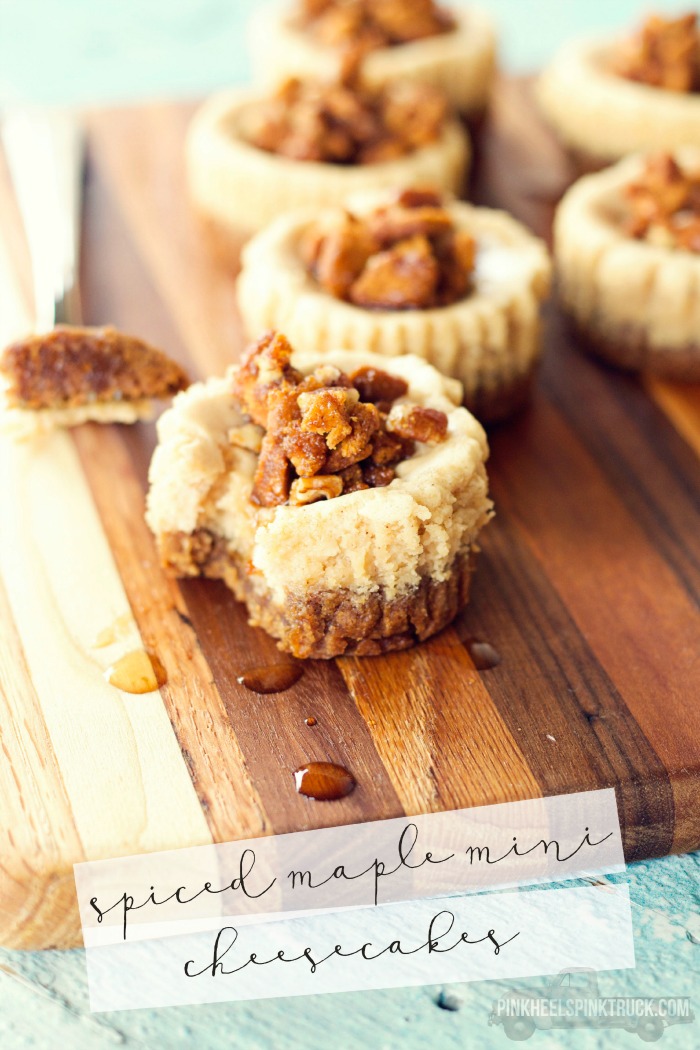
Spiced Maple Mini Cheesecakes by Pink Heels Pink Truck
These Spiced Maple Mini Cheesecakes feature a gingerbread cookie crust and a ginger cookie, pecan and maple syrup crumble on top. Super yummy!!
 
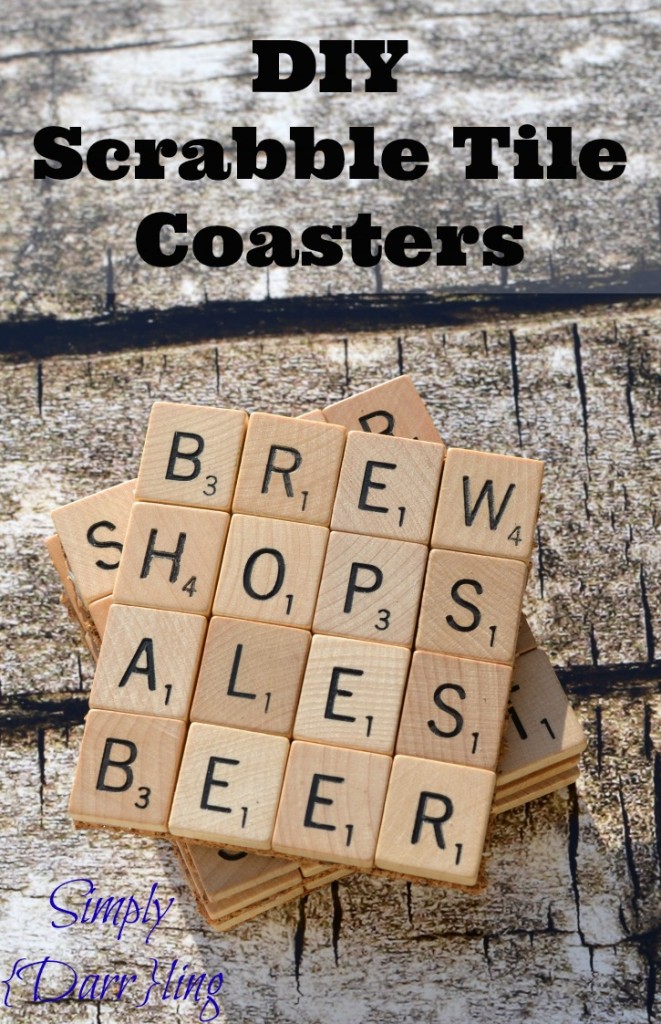
DIY Scrabble Tile Coasters by Simply Darrling
DIY Scrabble Tile Coasters
 
Sweet Potato Hash Brown Breakfast Bake by Loaves and Dishes
Sweet Potato Hashbrown Breakfast Bake @loavesanddishes.net
 
Crown Molding Shoe Rack by Genia Be Me
DIY Shoe Rack
 
Margherita Pizza by A Simple Pantry 
This Margherita Pizza with Salami is the real deal of delicious; a must eat tonight!
 
Thanks to all who linked up! Grab a button if you were featured :)
 
Featured on My Girlish Whims
 
Now... onto this weeks party!

I show off my girlish whims weekly on my blog, and now I want to see yours with 
Your Whims Wednesday!

Guidlines:
1. Link up as many projects as you would like: as long as it is one of your girly ways, you can link it! I'd love to see crafts, recipes, style posts, etc. Anything and everything feminine :)
2.Please add my button (code at the top of this post) to either your blog post or somewhere on your blog. 
3. Take a quick moment to comment on at least one other entry. We we all love comments!! 
4.I'd love if you would follow me as well :)


How to Make a Multi-Strand Bracelet with Elements of Antiquity

I've "met" a lot of people through blogging.  I "virtually" know so many people! I have really only met very few of them in real life though.  One such blogger that I HAVE been lucky enough to met in real life is Suzette Bentley of Ellie's Bijoux. We were members of the Cousin Creative Circle for a little over a year together and got to meet on our trip down to Cousin headquarters. I have so much admiration for Suzette: she is SUPER friendly and nice and makes BEAUTIFUL jewelry. She is so talented! She has made jewelry making her way of life and recently launched a new business selling jewelry components called Elements of Antiquity.

Elements of Antiquity is an online shop that sells aged pewter jewelry components that are 100% made in the USA, lead free and nickel free. Suzette sent a couple pieces my way to play with and I chose to make a multi-strand bracelet with the aged pewter beehive bead caps!

Bead caps are a pretty staple jewelry making component but I have always had a terrible time trying to find ones I like either in local bead shops or online. So I was glad to have the opportunity to use these caps with a simple but elegant bracelet design.  Here's how I made it!

I first laid out a pattern of beads I wanted to use. I chose a grey mix of various size stone round beads, faceted Czech glass beads and faux pearls. Other supplies needed are crimp beads, a clasp, beading wire and some beading pliers.

 I cut four strands of beading wire using wire cutters and strung on each type of bead.  I recommend using scotch tape to secure one end of the beading wire while you are stringing, this will make the strands easier to work with later on.

After all my beads were strung I gathered the open ends together and strung on a bead cap.

 Next string on a crimp bead and one end of a toggle clasp

 Wrap the wire ends around and back through the crimp bead and use needle nose pliers to crimp the crimp bead flat to secure the clasp.  Use wire cutters to trim off any extra wire tails.

 Next arrange your lengths of beads to the size of your wrist and after you have a proper length string the other bead cap on the other end of the wires and repeat the crimping process again for the other side of the toggle clasp.

After all the wires have been crimped in place you are left with a pretty silver beaded bracelet!

Bead caps are used to make the ends of multi-strand bracelets look cleaner. I think they make the finished product look very professional (and stylish!)

Elements of Antiquity offers lots of beading finding components but they also stock various kinds of charms and pendants. There are plenty of pieces to inspire your next jewelry creation so if you have a minute hop over to take a look!

Your Whims Wednesday #194 {And Features}

Time for another Your Whims Wednesday Party!

Your Whims Wednesday
 
There were a lot of DELICOUS looking cocktails linked up to last week's party so that is what I am featuring this week!

Raspberry Mojitos by Hairspray and High Heels
For a fun twist on an old favorite, give this raspberry mojito recipe a try! Delicious!
 
Cranberry Martinis by Sugar Love Chic
cranberry martnini 027
 
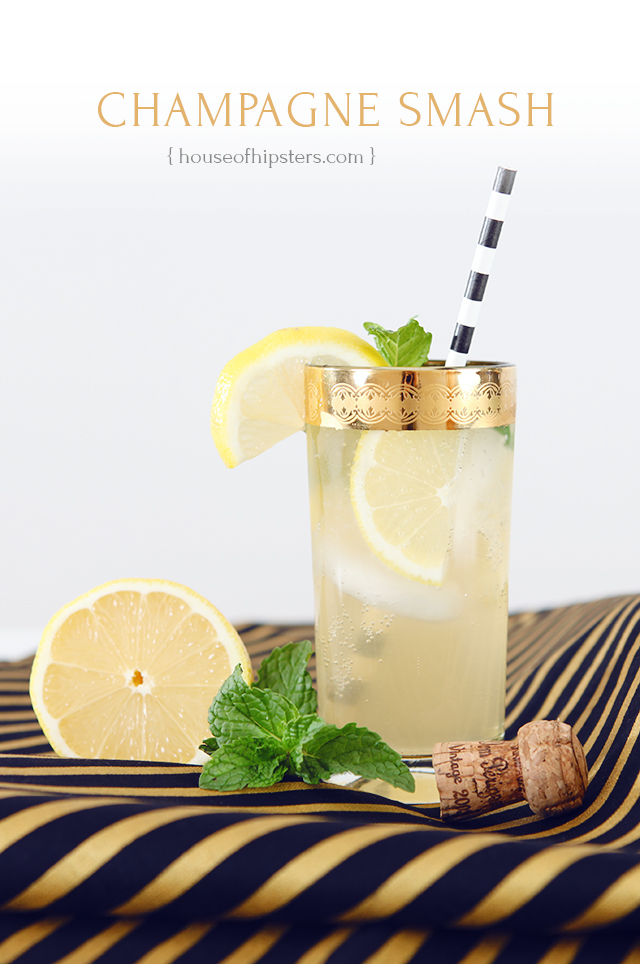
Champagne Smash by House of Hipsters on This Silly Girl's Life
Champagne Smash, a bubbly Champagne cocktail with hints of mint and lemon, cheers!
 
Champagne Punch by Tabler Party of Two
Holiday Champagne Punch
 
Mulled Sangaria by Pink Recipe Box
Mulled Sangria Christmas Recipe | www.pinkrecipebox.com
 
Thanks to all who linked up! Grab a button if you were featured :)
 
Featured on My Girlish Whims
 
Now... onto this weeks party!

I show off my girlish whims weekly on my blog, and now I want to see yours with 
Your Whims Wednesday!

Guidlines:
1. Link up as many projects as you would like: as long as it is one of your girly ways, you can link it! I'd love to see crafts, recipes, style posts, etc. Anything and everything feminine :)
2.Please add my button (code at the top of this post) to either your blog post or somewhere on your blog. 
3. Take a quick moment to comment on at least one other entry. We we all love comments!! 
4.I'd love if you would follow me as well :)