Your Whims Wednesday #109 {And Features}

Time for another Your Whims Wednesday Party!

Your Whims Wednesday

Here are some of my favorites from last week!

Thrifted Tray turned Sign by The Gingerbread Blog


Little Girls Room Reveal by A Little of this, a Little of that


Baked Crab Mac and Cheese by Will Cook for Smiles
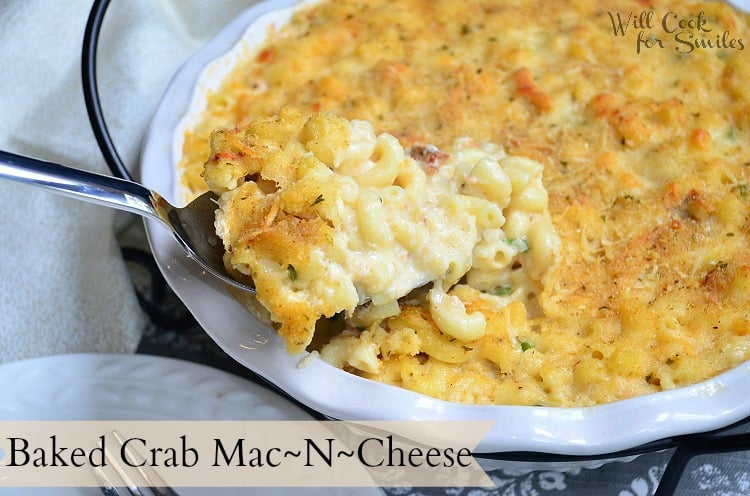
Baked-Crab-Mac-N-Cheese 1ed

DIY Jewelry Holder by DIY Vintage Chic


DIY Boutique Dishtowels by Posed Perfection
 
Thanks to all who linked up! Grab a button if you were featured :)
 
Featured on My Girlish Whims
 
Now... onto this weeks party!

I show off my girlish whims weekly on my blog, and now I want to see yours with 
Your Whims Wednesday!

Guidlines:
1. Link up as many projects as you would like: as long as it is one of your girly ways, you can link it! I'd love to see crafts, recipes, style posts, etc. Anything and everything feminine :)
2.Please add my button (code at the top of this post) to either your blog post or somewhere on your blog. 
3. Take a quick moment to comment on at least one other entry. We we all love comments!! 
4.I'd love if you would follow me as well :)


Use Washi Tape to Decorate Wooden Letters

This craft is a quick and fun and cheap project to give you an excuse to use up some of your washi tape stash! This technique is NOT mind blowing, but the outcome is really fun!

Washi Tape Letters


I picked up one of those plain wooden letters one time while wandering around a craft store on a whim as "oh, I can use this to craft some kind of cute monogram for our house." But then, it sat in our craft room for a few weeks until I finally decided I needed to do SOMETHING with it.

So you want to know my grand, new crafting concept???

WRAP IT WITH WASHI TAPE BABY!

Yup, that's it! Start with a plain letter and wrap it with Washi Tape!  (this picture was taken with my iPhone on my lap - I did this craft while watching TV - so simple)


To wrap the letter I would wrap one time around the letter, rip the tape, and then start on the next row.  I got my cute tape from a deal on Groopdealz. 

After the letter was wrapped, I left it sitting in my craft room for a few days to dry and I noticed that some of the washi tape was lifting up on the ends. My solution?


 Just slap some Mod Podge on that sucker! Seriously though. What can Mod Podge NOT fix.  I coated the whole letter in a heavy coat of Mod Podge and it dried clear and now all my little strips of washi tape stayed put!

Currently my little Washi Tape U has found it's home on the shelves in our bedroom.

Still need a little basket for that last shelf. But besides that, this cute little Washi Tape letter feels right at home in our master bedroom.

I think this would be a great technique to use in a nursery: getting letters for the name of your baby and covering each one in a different pattern of Washi Tape?? OK - mental note for when we have babies - DO THIS!

This project was really cheap too. AND if you keep up on any of the crafting trends I'm sure your already have a stash of Washi Tape that you need a project to use up some of your supplies - to this little monogram would be perfect for you!

I'll be linking up to these parties:

Celebrating Mothers Day with Helzberg Diamonds

Let's start this post off right:


Yeah, any post that starts off with a little box and the word "DIAMONDS" on it is a good post in my opinion!!

Mothers Day is right around the corner and so this makes it a perfect time to share about the new INFINITY X INFINITY Jewelry Collection by Helzberg Diamonds.  The collection is inspired by the show revenge (which I've never personally watched but heard good things about! And now of course I'm intrigued to watch it since it has it's own jewelry line)

Infinity x Infinity

This collection is designed by award-winning jewelry designer Udi Behr and features the double infinity insigna symbolizing infinite love.  The great thing about the collect is that the pieces in it range from $49.99 to $1,299. Because, let's be honest, we all LOVE our moms but may not have a fortue to drop on them every year for mothers day.  All of the more affordable pieces are just as beautiful in my opinion anyway :)


 I was sent these beautiful earrings that retail for $99.99 - and I love them! They have a simple elegance that make them easy to wear with many different outfits - not just to be saved for something super fancy.


Mother's Day only comes around once a year but of course we all love our Mothers unconditionally and infinitely, and this collection is such a sweet reminder of that and would make a great gift for any mom!

The INFINITY X INFINITY collection can be found online at helzberg.com/infinity and in Helzberg Diamonds' stores nationwide.

To receive exclusive offers and deals from Helzberg Diamonds sign up for their emails! For more jewelry eye candy you can also find them on facebook, twitter, and pinterest.

Lastly, use code FREESHIP25 for free shipping between now and Mother's Day!


I was provided free product in exchange for my honest review of this collection.  All opinions are my own.

Site Review: Minted

I have such a fun website to share with you all today!

Minted is an online store that uses designs from independent graphic designers and produces the best of their work in the form of paper goods.

That's basically a fancy way for saying they sell pretty paper items :) 

They offer tons of different products, but I really fell in love with were their art prints.  I'm still working on making our house look a little more loved and lived in, and I'm so excited to be able to find a home for these two sweet prints I ordered:

 I think this one is going to go in my craft room. The girly floral & pink color will fit in perfectly in there :)

This one is going in our family room that I'm repainting in a light turquoise soon! Currently this room is a brownish color that is just heavy and dark. I'm so excited to bring more light into the room and accessorize accordingly!

 Minted has 554 art prints currently, and I MAY or may not have looked through all of them before deciding on these two... I just love the style of all of them.  They all have a happy, kind of retro-indie vibe to them which I find adorable.

The eye candy doesn't stop with art prints though...

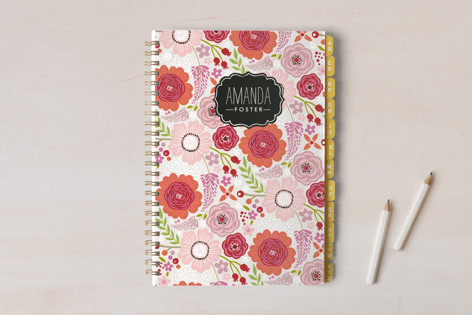
They have adorable journals
Berry Garden Journals

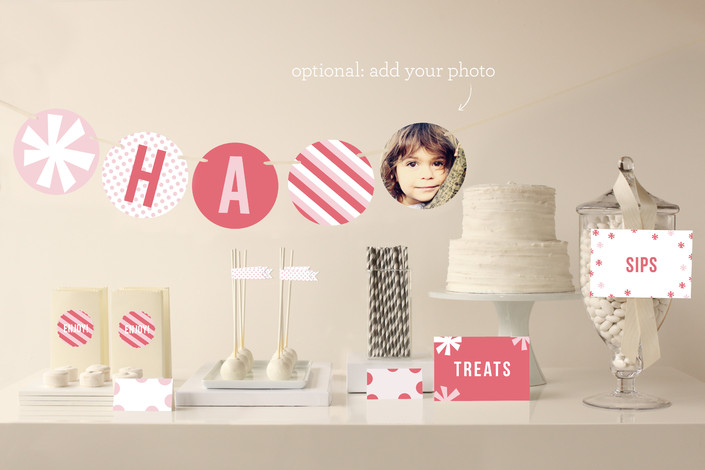
Themed party decor

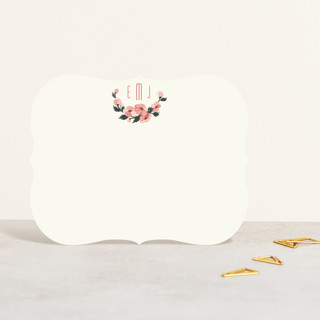
Personalized stationary (that come in really cute shapes toos!)
Pink Blossoms Personalized Stationery 

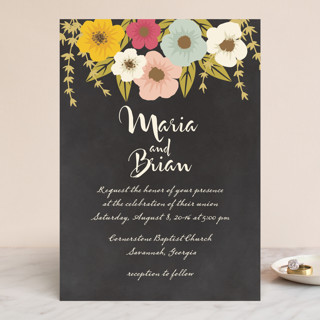
I also oggled over their wedding invitations  which are all so adorable!!! Of course I don't need any more wedding invitations anymore :) but there were tons of really beautiful designs for any of you other single ladies still!!
Plentiful Blossoms Wedding Invitations

Don't take it just from me though - check out the eye candy at Minted for yourself! Maybe you don't need to look through all 554 art prints like me, but I warn you the site is addicting! Take a peak and let me know if you agree!


I was provided store credit for an honest review of this site - all opinions are my own. I really like products this site offers daggnabit.

Your Whims Wednesday #108 {And Features}

Time for another Your Whims Wednesday Party!

Your Whims Wednesday

Here are some of my favorites from last week!

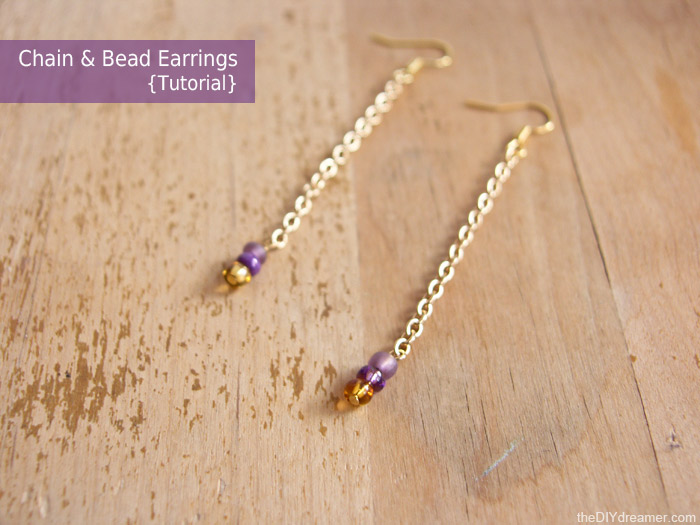
Chain & Bead Earrings Tutorial by The DIY Dreamer
Chain Bead Earrings Tutorial

Rosette Pin Cushion by The Simple Craft Diaries


Everyday Mantel Decor from Made to be a Momma
 
Pallet Clock by 2 Crafty 4 My Skirt 
 
Thanks to all who linked up! Grab a button if you were featured :)
 
Featured on My Girlish Whims
 
Now... onto this weeks party!

I show off my girlish whims weekly on my blog, and now I want to see yours with 
Your Whims Wednesday!

Guidlines:
1. Link up as many projects as you would like: as long as it is one of your girly ways, you can link it! I'd love to see crafts, recipes, style posts, etc. Anything and everything feminine :)
2.Please add my button (code at the top of this post) to either your blog post or somewhere on your blog. 
3. Take a quick moment to comment on at least one other entry. We we all love comments!! 
4.I'd love if you would follow me as well :)


A Meal Without Wine is Called Breakfast

While wondering around the home decor aisles of Ross one day, I found an eclectic sign with the saying "A Meal Without Wine is Called BREAKFAST"

As a wine lover, I loved the sign and thought it was hilarious. However the one in Ross was very tacky looking and not something I wanted to decorate my kitchen with - so I made my own!


I love how it turned out: classy but funny and with custom colors to match my kitchen!

PS- I loved this sign so much I'm now selling it in my etsy shop!

Here's how I made my version:

I started with an 8x10 canvas I got at Michaels.

I painted it with two coats of craft paint. Best part about crafting - you can customize your crafts to match your room colors :)

While I was waiting for the canvas to dry,  I designed the art for the canvas and cut the design out with my silhouette on vinyl.  I weeded out the letters and just kept the background to be able to stencil with.

After a few sticky failed attempts and grumbling at the thin font of "breakfast" that kept giving me trouble, I finally got the vinyl onto the canvas. Don't forget to bring over the inside parts of the e's and a's etc.

Next I stenciled on the words and art using a gold craft paint.

After I was done stenciling I pulled off the vinyl and....ick! Haha. There was a little bleeding under the vinyl. But not to fear!

I used a tiny paint brush to touch up the paint around the bleeding errors. I don't think it looks half bad anymore :)

I displayed the sign in the kitchen after I made it, and when hubby came home he said "I see you bought a new sign!" and then I was really impressed with myself. I tried to make him guess where I bought it until he gave up and then I told him I got it from my craft room!!
 

 I put the sign in my kitchen in this little display shelf above the sink. For the whole first year we've lived here I did NOT know how to decorate this little space.  I'm so pleased with how it looks now!
I got the little red vases for $6 total at a local boutique and she threw in the candles for free.  The candle holders were recycled from a wedding favor and the flowers were less than 8 bucks from Michaels. Now this little nook is so cheery!


I think every kitchen needs a little quirky saying sign - and this one is perfect for me!

I'll be linking up to these parties:

Bead Fest Finds 2013

I've blogged about what Bead Fest is here and some past finds here and so I just had to share what I bought this year as well :)

Basically Bead Fest is a HUGE bead show that comes to the Philadelphia area twice a year and is SUPER close to where I live.  And the show is KIND OF a big deal. Like people fly in and rent hotels to go to it. And it's only like 20 minutes from my house! awesome sauce

The show itself can be kind of overwhelming. The are always TONS of ladies milling around all the booths and fighting for space to dig through beads. I mean just look at this pile of heaven: $1 bead strands just piled and piled on tables!!!

Here's what I walked away with this year!

You could EASILY drop a couple hundred dollars at a show like this so I try to be responsible in my spending. I only dig through bead strands that are $4 or under a strand and I won't spend all afternoon at the show. Longer you're in there = more money you'll spend :) 

I'm happy with what I took home with this year though: I got some fun bright color beads (already have something made and ready for a tutorial with those turquoise beads!) and some nice neutrals and metal beads as well. I probably spent about $100 between the entrance cost and all the beads I got. Beads are not cheap I tell you! But Bead Fest only comes around every so often so I let myself splurge just a bit when it does :)

Here are some of the projects I made from my Bead Fest finds from last year:

FOUND:
 

MADE: Top Set of Red Beads- DIY Red Statement Necklace

MADE: Bottom Set of Blue Beads- Cobalt Blue Cluster Necklace 
 

FOUND:
 

 MADE: Right Set of Black Beads- Black & Gold Statement Bib Necklace
 

FOUND:
 

MADE: Black Briolettes on Left- Chunky Black Statement Necklace

Well that was fun to look back on :) Not too shabby! Although I still have a bunch of beads leftover from last year. Adding to my stash! Hopefully I use up more of this years beads and come up with TONS of great tutorials for you all in the process! Sounds like a plan? Ok :)